A boat that winters outdoors faces three things a cover has to handle: the weight of wet snow, wind that works at every loose corner, and condensation that turns into mould if the air under the cover cannot move. A good cover fitted badly fails at all three. This guide goes through the job in the order you do it, from preparing the boat in autumn to taking the cover off in spring.
1. Prepare the boat before it goes under the cover
Whatever goes under the cover stays there for five or six months, so start with a boat that is clean and dry.
- Wash and dry the hull and the deck. Dirt holds moisture against the surface all winter.
- Take out what can be damaged by damp or theft: cushions, life jackets, electronics, fuel cans and the battery. Store the battery indoors and keep it charged.
- Drain all water. Bilge, live wells and any hoses. Water left in the boat freezes, expands and cracks fittings.
- Winterise the engine according to its manual before you cover the boat, so you do not have to open the cover again.
- Pad sharp edges. Windscreen corners, rod holders and cleats rub through any fabric over a winter of wind. A piece of foam or an old towel taped over them is enough.
2. Give the cover a ridge
The most common reason a winter cover fails is that it lies flat. Snow settles in the flat parts, melts in the day, freezes at night and keeps adding weight until the fabric stretches into a pool – and a pool of water is what tears a cover or fills the boat.
The fix is a crown: something under the cover that holds it up along the centre line so snow and rain run off to the sides. On an open boat, support arches across the hull do this. Ours come in three widths – 90, 120 and 140 cm – placed at the bow, the middle and the stern.
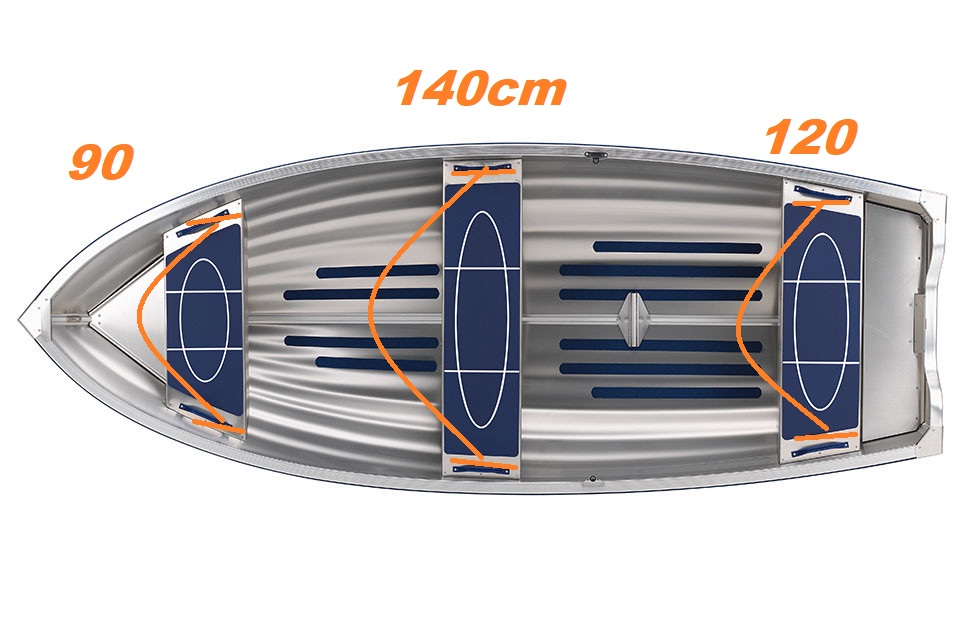
A boat with a console or a windscreen already has a high point; on those the arches go between the high point and the ends so the fabric does not sag between them.
3. Fit the cover and leave the vents free
Pull the cover over from the bow first, then work it down over the gunwale on both sides before tightening anything. A cover cut for the model sits down on the gunwale by itself; a loose one needs to be pulled straight so no fold is left to catch water.
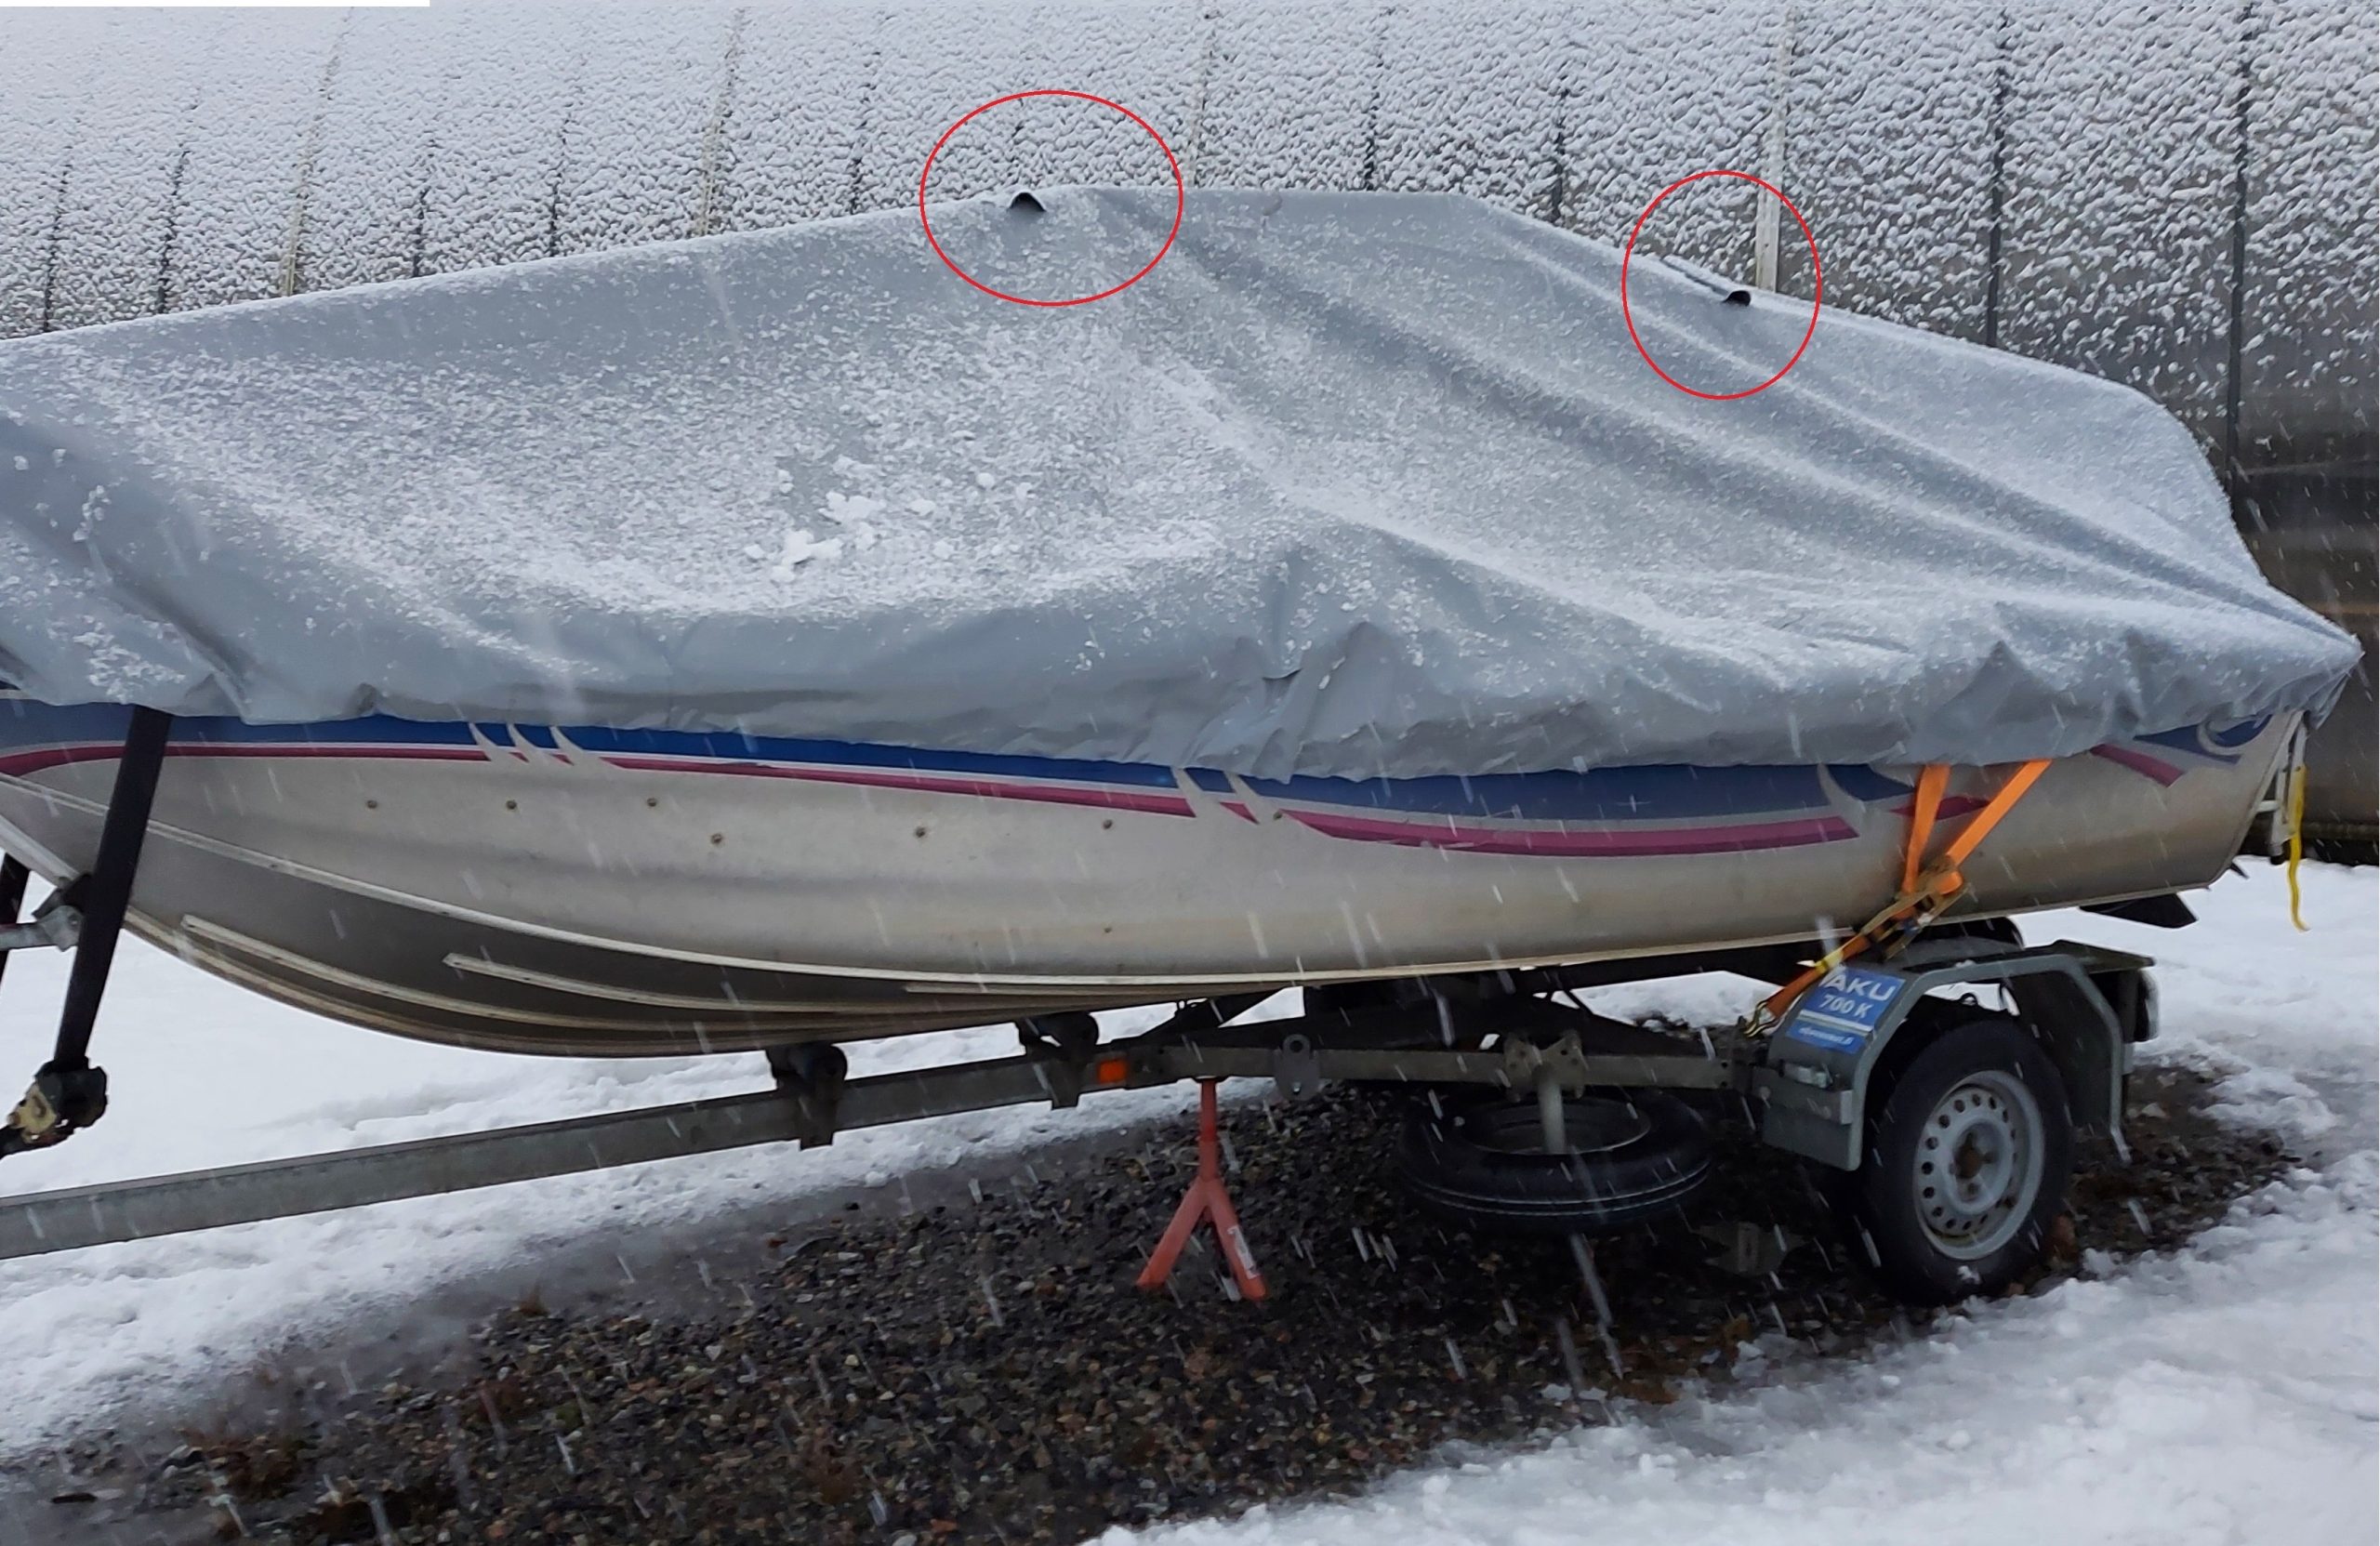
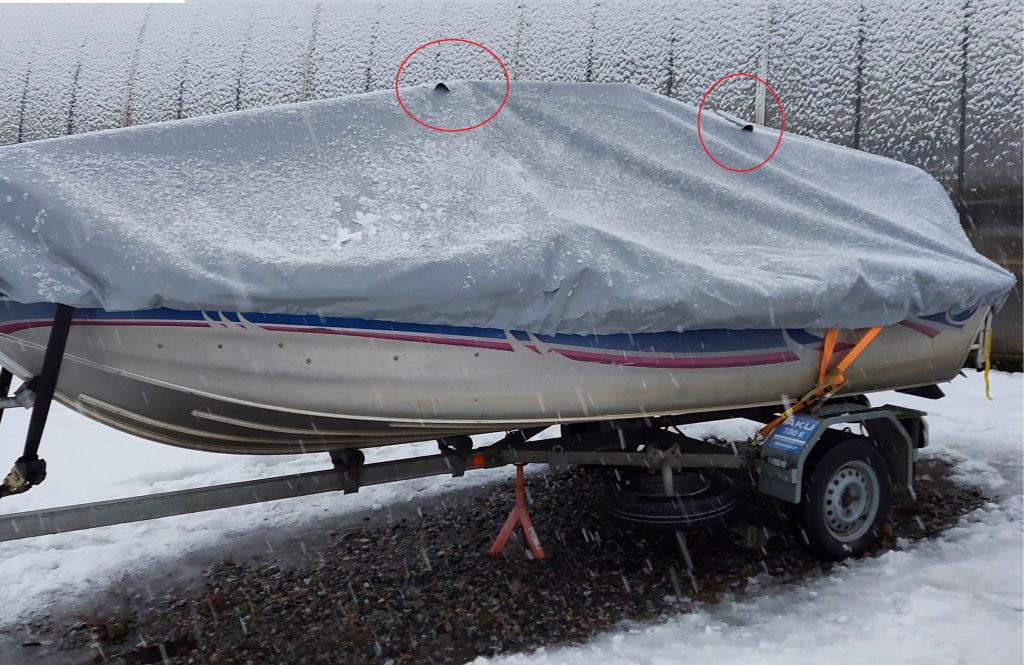
A waterproof cover does not breathe, so the air underneath has to move through openings. Ours have two mesh ventilation openings welded in. Do not block them with the arches, a tarp on top or snow piled against them. The circled openings in the photo below are doing their job in the middle of a snowfall.
4. Tension it – against the boat, not against the ground
Tension is what keeps the wind from getting a grip. Pull the cover tight with the ratchet strap at the stern, then tie down along the sides through the eyelets.
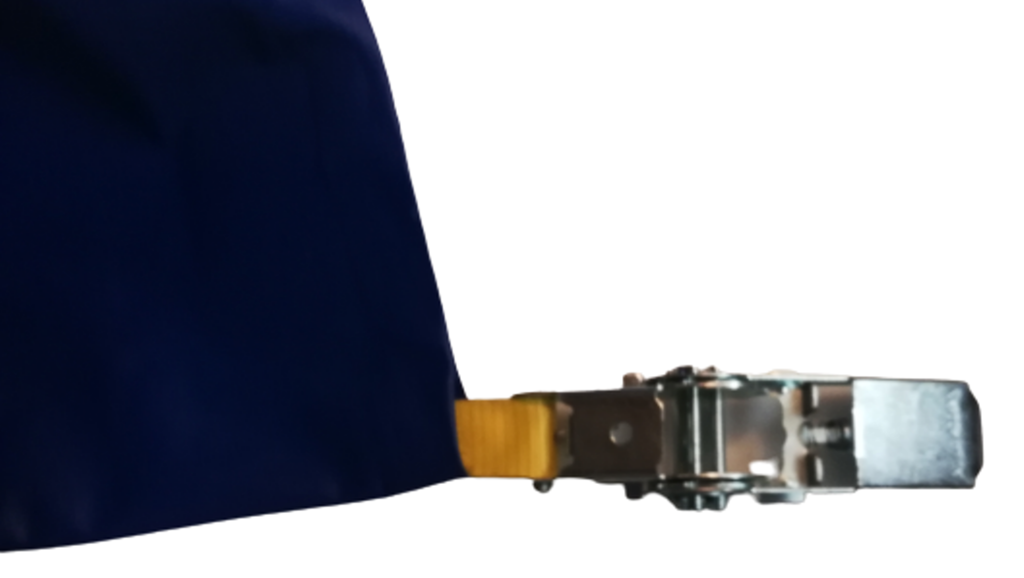
- Tie the cover to the boat or its trailer, never to loose stands, blocks or anything on the ground. In a storm a cover tied to the ground can pull a boat off its supports.
- Tight, not drum-tight. The fabric should not flap, but it should still give a little when you press it. PVC shrinks slightly in the cold, so a cover tightened to the limit on a mild day is over-tight in January.
- Keep straps off sharp edges or pad them where they cross the gunwale.
5. Check it through the winter
A cover that was right in October is not guaranteed to be right in February. Walk past the boat after storms and after heavy snowfall.
- Brush off heavy, wet snow before it builds up – use a soft brush, never a shovel.
- Re-tension the ratchet if the cover has started to flap.
- Make sure the ventilation openings are not buried.
- Look for places where the fabric rubs on something hard and add padding.
6. Taking the cover off in spring
Wait for a dry day. Brush off dirt and leaves, rinse the cover with water and a mild detergent if it needs it, and let both sides dry completely before you fold it. A cover packed away damp will be mouldy by autumn. Store it folded loosely in a dry place, away from mice.
Why a cover cut for your model
A cover cut for one boat model follows that hull’s own gunwale, console and windscreen, so it sits down without folds and needs less tension to stay put – and a cover without folds leaves water nowhere to collect. Find yours in our list of makes and models. If your boat is not there, we make covers to order – our guide on how to measure your boat for a cover shows what to send us.
Checklist
- Boat clean, dry and drained; battery and loose gear out.
- Engine winterised.
- Sharp edges padded.
- Arches or a ridge in place – no flat areas.
- Cover pulled straight, vents clear.
- Ratchet tight, tie-downs to the boat or trailer.
- Checked after storms and heavy snow.
Want to know what the cover itself should be made of? We compare the three common materials in PVC vs polyester vs polyethylene boat covers.